Replacing a roof is one of the biggest investments a Florida homeowner can make. Unlike many other states, Florida roofs face year-round heat, heavy rain, humidity, coastal exposure, and storm seasons that put roofing systems under constant pressure. Choosing the right contractor matters – but understanding the installation process matters too.
Florida’s climate creates unique roofing requirements, including proper ventilation, durable materials, and installation methods designed for local conditions.
If you’re preparing for a new roof, understanding what happens from inspection to final cleanup can help you feel more confident and avoid unnecessary surprises. Homeowners considering a professional roof installation should know exactly what to expect before work begins.
Step 1: Initial Roof Inspection and Assessment
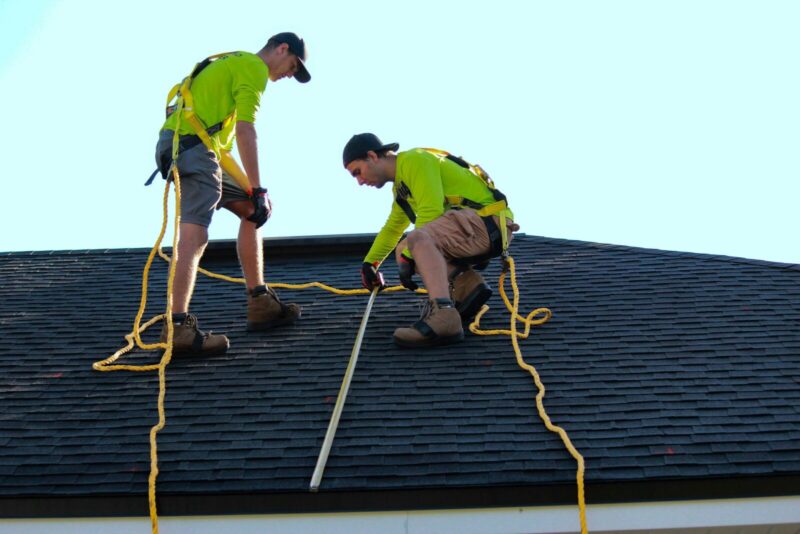
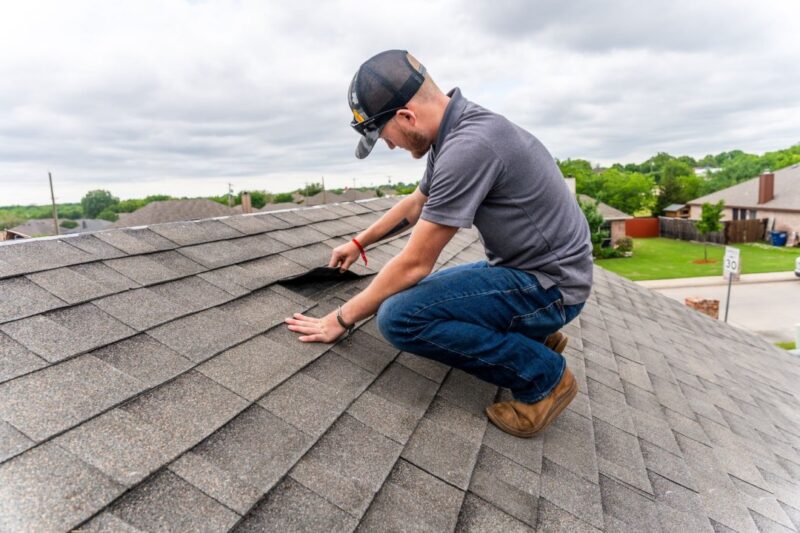
Every quality roof installation starts with a detailed inspection.
Before recommending materials or pricing, contractors typically evaluate the current roof condition, structural integrity, ventilation, flashing, and any signs of moisture damage. Roof inspections also help identify issues that may not be visible from the ground, including damaged decking or hidden storm-related wear.
A reputable roofing company should explain whether your roof truly needs replacement or if repairs could reasonably extend its life. The goal should be long-term value – not replacing a roof before necessary.
Step 2: Choosing Roofing Materials for Florida Conditions
Not every roofing material performs equally in Florida.
Homeowners generally choose between asphalt shingles, metal roofing, tile systems, or other specialty materials depending on budget, appearance preferences, and performance expectations. Florida’s climate often makes wind resistance, moisture protection, and heat performance important factors during selection.
When evaluating options, contractors may discuss:
- Expected lifespan
- Resistance to storms and humidity
- Energy efficiency
- Warranty coverage
- Maintenance requirements
The right choice balances durability with practical long-term ownership costs.
Step 3: Receiving the Estimate and Project Timeline
Once materials are selected, homeowners should receive a detailed written estimate.
A complete proposal generally outlines labor, materials, removal of old roofing, cleanup procedures, permit considerations, and warranty information. Clear expectations early in the process reduce confusion later and help homeowners compare contractors fairly.
Timeline expectations should also be discussed upfront. Installation duration depends on factors such as roof size, complexity, weather conditions, and material availability.

Step 4: Preparing Your Home Before Installation Day
Roof installation affects more than just the roof itself.
Before work begins, homeowners can make the process easier by:
- Moving vehicles away from the house
- Securing fragile wall decorations
- Covering valuables in the attic
- Clearing outdoor furniture and patios
- Planning for temporary noise and activity
Roof replacement typically begins with removal of existing materials, allowing contractors to inspect the underlying structure before the new system is installed.
Step 5: The Roof Installation Process
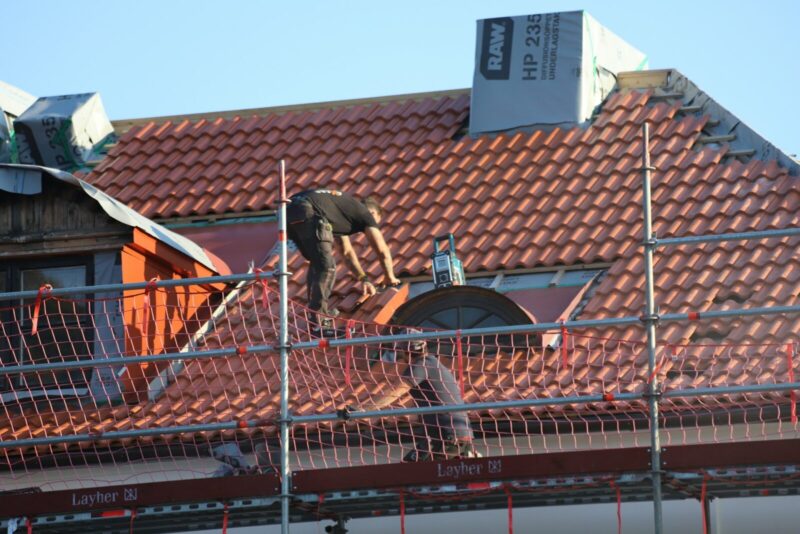
Installation day is where planning becomes visible.
After removing old materials, roofing crews inspect the roof deck and address any damaged sections before moving forward. Contractors then install protective underlayment, flashing around vulnerable areas, ventilation components, and finally the selected roofing material.
Proper installation is critical because even premium materials depend on workmanship to deliver expected performance. Professional crews follow manufacturer requirements and local building standards to maximize roof longevity and warranty protection.
Throughout the process, experienced roofers conduct quality checks to ensure alignment, sealing, and weather protection are completed correctly.
Step 6: Final Inspection and Project Completion
The project isn’t finished when the last shingle is installed.
A final inspection should confirm that installation meets expectations and that all cleanup is complete. Homeowners should walk the property with the contractor, review completed work, and receive warranty documentation.
This is also the time to ask questions about maintenance schedules, storm preparation, and future inspections.
A professional roof installation should never feel like a mystery project. From inspection and material selection to installation and final walkthrough, understanding each stage helps homeowners make better decisions and protect their investment.
Working with experienced roofing professionals and knowing what to expect can make the process smoother, more predictable, and far less stressful.