External wall rendering can dramatically enhance the appearance and durability of your home, offering protection from the elements while improving energy efficiency. However, to achieve the best results, it’s essential to properly prepare your home before the rendering process begins. Below you can find the key steps to ensure your home is ready for external rendering.
Clean the Exterior Walls

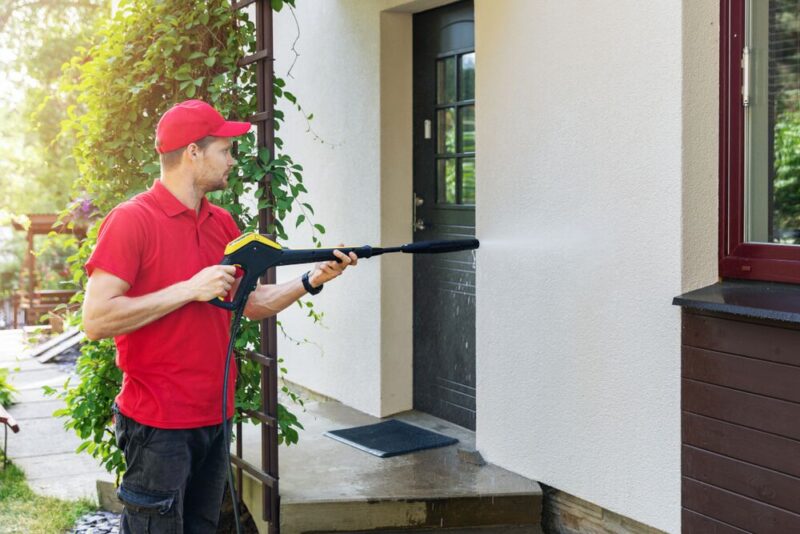
The first step in preparing your home for external rendering is to thoroughly clean the exterior walls. Dirt, moss, algae, and other organic materials can interfere with the render’s ability to adhere to the surface. Using a pressure washer is an effective way to clean the walls and remove any grime or loose debris. In areas with significant mould or mildew growth, applying a fungicidal wash may be necessary. Make sure to let the walls dry completely after cleaning, as rendering over wet surfaces can lead to poor adhesion and cracking.
Repair Cracks and Surface Damage
Before applying render, it’s crucial to inspect your walls for any cracks, holes, or structural damage. Filling minor cracks and repairing damaged areas will provide a smooth, stable surface for the render. Use a high-quality filler for small cracks and patch up any larger defects with appropriate repair materials. If your walls have old or damaged render, be sure to remove it to create a clean, even base for the new layer.
Apply a Suitable Primer

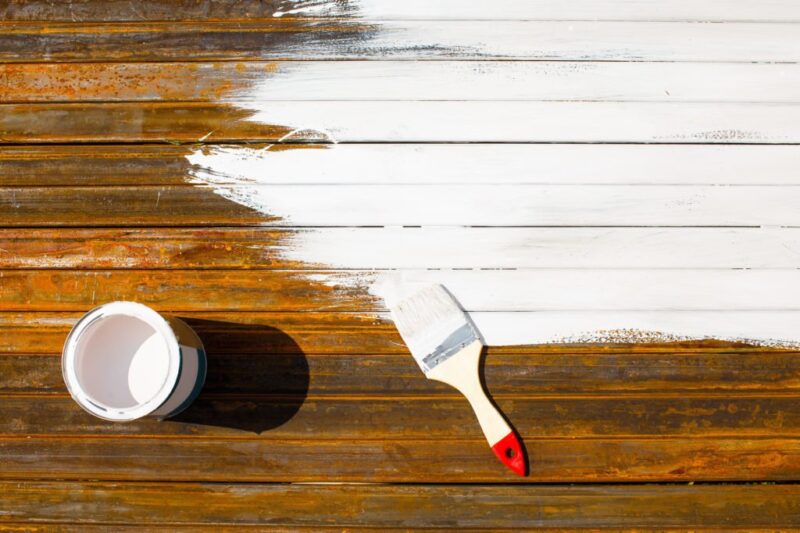
In many cases, priming the exterior walls is an essential part of the preparation process. A primer helps to seal porous surfaces and ensures better adhesion of the render. Priming is especially important if the walls are made of materials like brick, block, or stone, which may absorb moisture unevenly. Always use a primer that is compatible with the type of render you are planning to apply. Be sure to let the primer dry completely before moving on to the house rendering process.
Protect Windows, Doors, and Fixtures
Rendering can be a messy job, so it’s important to protect any surrounding features that you don’t want to be splattered with render. Use plastic sheeting or tarps to cover windows, doors, and other fixtures like electrical outlets or vents. Applying masking tape around the edges can ensure clean lines and make the final cleanup much easier. Take the time to cover and protect any outdoor furniture or plants near the work area to prevent damage.
Clear the Area Around Your Home

Before starting any rendering work, make sure the area surrounding your home is clear and accessible. Remove outdoor furniture, plants, or decorations that may obstruct the walls. It’s also important to ensure the ground around your home is level and free from clutter. Having a clear, safe workspace is essential for the rendering team to move freely and work efficiently without obstacles.
Check Weather Conditions
House rendering should only be done when the weather conditions are appropriate. Rendering in very wet, cold, or extremely hot conditions can negatively affect the drying process and the final finish. Ideal weather for external rendering is mild and dry, with minimal risk of rain. Check the weather forecast before scheduling the rendering work to ensure you have optimal conditions for the project.
Conclusion
Preparing your home for external wall rendering is a vital step that ensures a successful and long-lasting application. By cleaning and repairing the walls, applying primer, and protecting surrounding areas, you create the ideal conditions for the render to adhere properly and deliver a smooth, professional finish. Following these key steps will help ensure that your rendering project enhances both the appearance and durability of your home.


