Radiator installation is a vital step in setting up an effective heating system in your home or office. A properly placed radiator not only provides a warm and comfortable environment, but it also works efficiently, saving energy and lowering heating costs.
This article will follow you through the process of installing radiators, including the necessary tools, preparation processes, installation, and post-installation suggestions..
Why It’s Important to Install Radiators Correctly
Before diving into the technical aspects, it’s important to understand why proper installation is crucial. An incorrectly installed radiator can lead to various issues such as uneven heating, leaks, and increased energy consumption. Proper installation ensures optimal performance, longevity of the radiator, and a safe heating environment.

Tools and Materials Needed
To install a radiator, you will need the following tools and materials:
- Radiator
- Wall brackets
- Drill and drill bits
- Spirit level
- Adjustable spanner
- Pipe cutter
- PTFE tape
- Radiator valves (inlet and outlet)
- Radiator key
- Measuring tape
- Pencil or marker
Preparation Steps
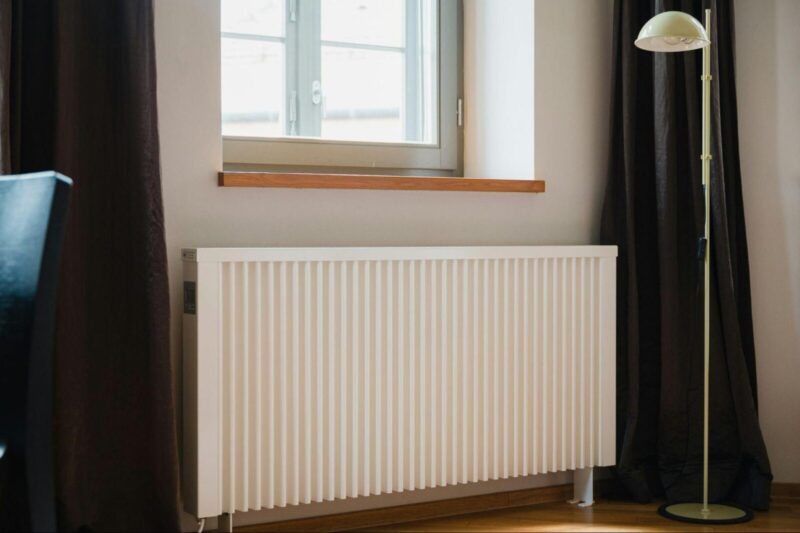
- Select the Proper Spot: The first step is to find a suitable position for your radiator. Radiators are commonly positioned behind windows to prevent cold drafts. Make sure the radiator has adequate room and won’t get in the way of furniture or walkways.
- Assess and Label: Mark the brackets’ position on the wall with a measuring tape and a spirit level. Establish the levelness of the markers to prevent an uneven installation. The radiator’s width should correspond to the spacing between the marks.
3. Prepare the Wall: Drill holes at the designated positions and fasten the brackets with wall plugs. Attach the brackets to the wall with screws and make sure they are secure.
Installation Process
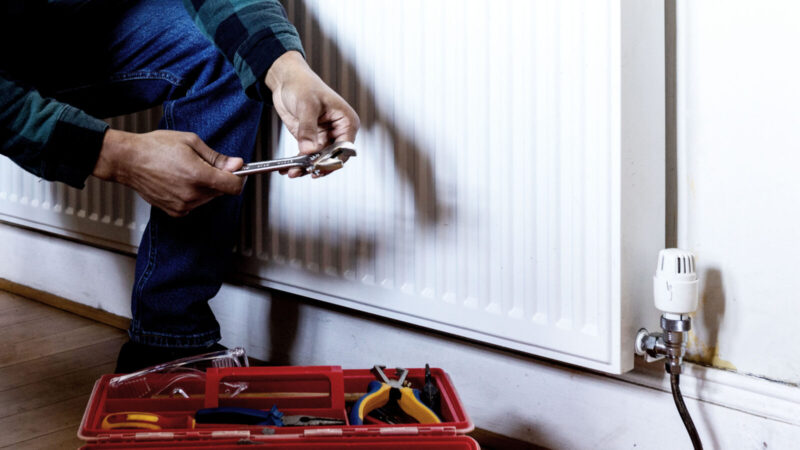
- Attach Radiator Valves: Wrap PTFE tape around the radiator valves’ threads to establish a tight seal and avoid leakage. The input and outflow valves should be connected to the radiator. To properly tighten them, use an adjustable spanner.
- Install the radiator: Lift the radiator and set it carefully on the wall brackets. Achieve both levelness and a stable placement. This stage may require an additional pair of hands.
3. Connect with the Pipework: Using a pipe cutter, cut through the existing pipes to suit the new radiator. Make sure the incisions are neat and seamless. A firm and secure connection should be made when connecting the radiator valves to the pipes. Tighten the compression fittings using the adjustable spanner.
- Fill and bleed the radiator: Once the radiator is attached, it’s time to fill it up with water. Allow water to fill the radiator by slowly opening the inlet valve. There will be trapped air inside the radiator as it fills. Use a radiator key to bleed the radiator by opening the bleed valve until water begins to flow, indicating that all air has been removed. Close the bleed valve tightly.
- Evaluate the System: Turn on the heating system and check for any leaks near the radiator valves and pipe connections. Check that the radiator heats up evenly and that there are no cold areas. If you discover any problems, turn off the heating system and fix the problem before putting it back on.
Post-Installation Tips

- Frequent Maintenance: To keep your radiator operating well, regular maintenance is essential. Bleed the radiator every so often to get rid of any trapped air that can lower performance. Make sure the valves are functioning correctly and look for leaks.
- Insulate the Pipes: Insulating your heating system’s pipes can stop heat loss and increase its overall effectiveness. Pipe insulation is especially crucial in cooler spaces like attics and basements.
- Employ Thermostatic Radiator Valves (TRVs): By installing TRVs, you can regulate the temperature of each radiator separately, improving the efficiency of your heating system. By keeping the temperature constant and comfortable, TRVs can assist in lowering energy usage and heating expenses.
4. Check the Boiler Pressure: After installing a new radiator, it’s important to check the boiler pressure. Low pressure can affect the efficiency of your heating system. Refer to your boiler’s manual for instructions on how to check and adjust the pressure if needed.
Common Mistakes to Avoid
1. Incorrect Positioning
Reduced efficiency can result from installing the radiator too close to the floor or other objects, which might impede airflow. To ensure optimal heat distribution, make sure there is enough room surrounding the radiator.
-
avoiding the process of bleeding
Bleeding the radiator might result in trapped air, which lowers efficiency and causes uneven warmth. The radiator should always be bled after installation and occasionally while in use.use.
3. Over-tightening Connections
While it’s important to ensure connections are tight, over-tightening can damage the threads and cause leaks. Tighten connections just enough to prevent leaks without applying excessive force.
4. Ignoring Manufacturer’s Instructions
Each radiator model may have specific installation requirements. Always refer to the manufacturer’s instructions for guidelines on installation, maintenance, and safety precautions.
Conclusion
A properly installed radiator is crucial for an efficient and effective heating system. By following the procedures given in this article, you can ensure that your radiator is properly installed and performing at its optimum. Your heating system will continue to operate properly and provide a warm and cozy atmosphere for many years to come with regular maintenance and careful attention to detail. Whether you’re installing a radiator for the first time or replacing an old one, taking the time to do it properly can result in increased performance and energy savings.