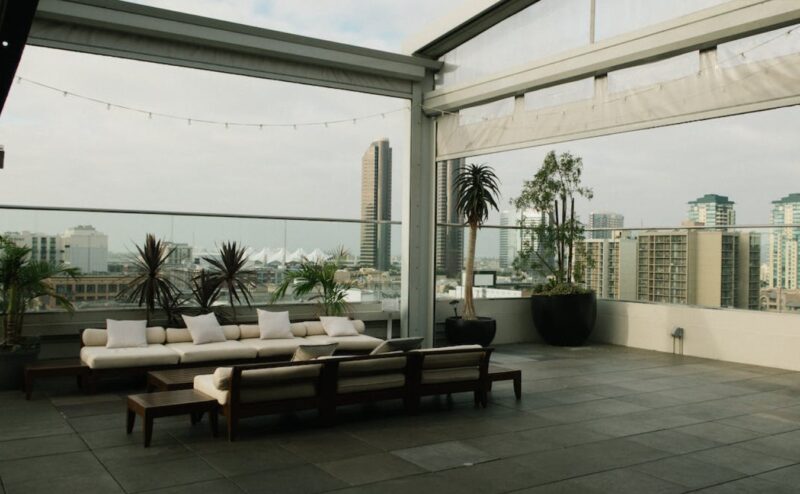
Create a comfortable outdoor room by incorporating a stone patio into your backyard or garden. When you want to use up the space in your backyard, you must have good information and ideas about everything. The hard surface provides:
• A firm footing for patio furniture.
• Allowing you to create a seating ensemble for outdoor dining.
• Morning coffee.
• Simply relaxing with friends.
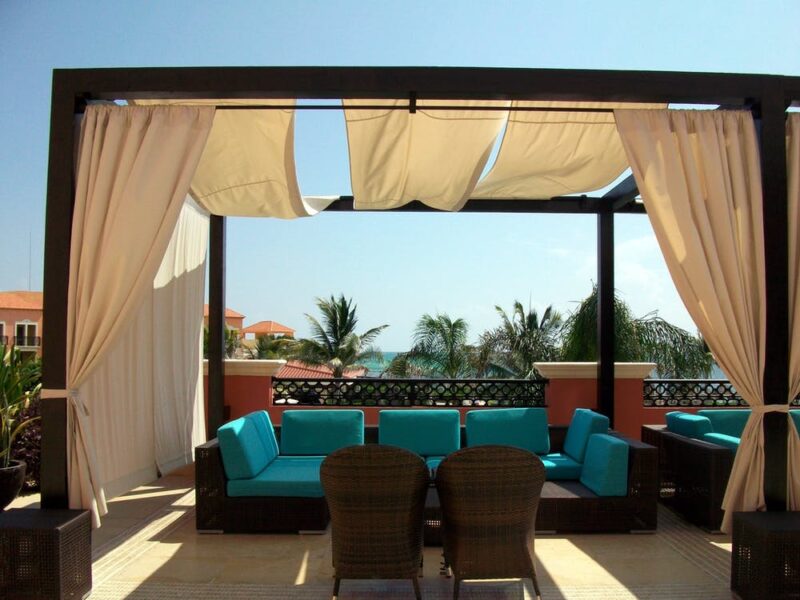
• You can use the space for different activities. To build your DIY patio, you’ll need gravel, sand, and the patio material of your choice. Stone patio designs can be made with bricks, pavers, or flagstones.
Always check out the design you want to execute. When planning your DIY project, save time by selecting a pattern that does not require cutting the patio material. Further in this article, we will discuss some of the important ways you can use and transform your backyard according to your wish.
Some Of The Ways Of To Build An Easy DIY Veranda And Upgrade Your Backyard:
Let’s check out some ways you can design your veranda and upgrade your backyard in the best way possible. It is important that you have the right information about it so that you can contact the right services provider to help you throughout the process.
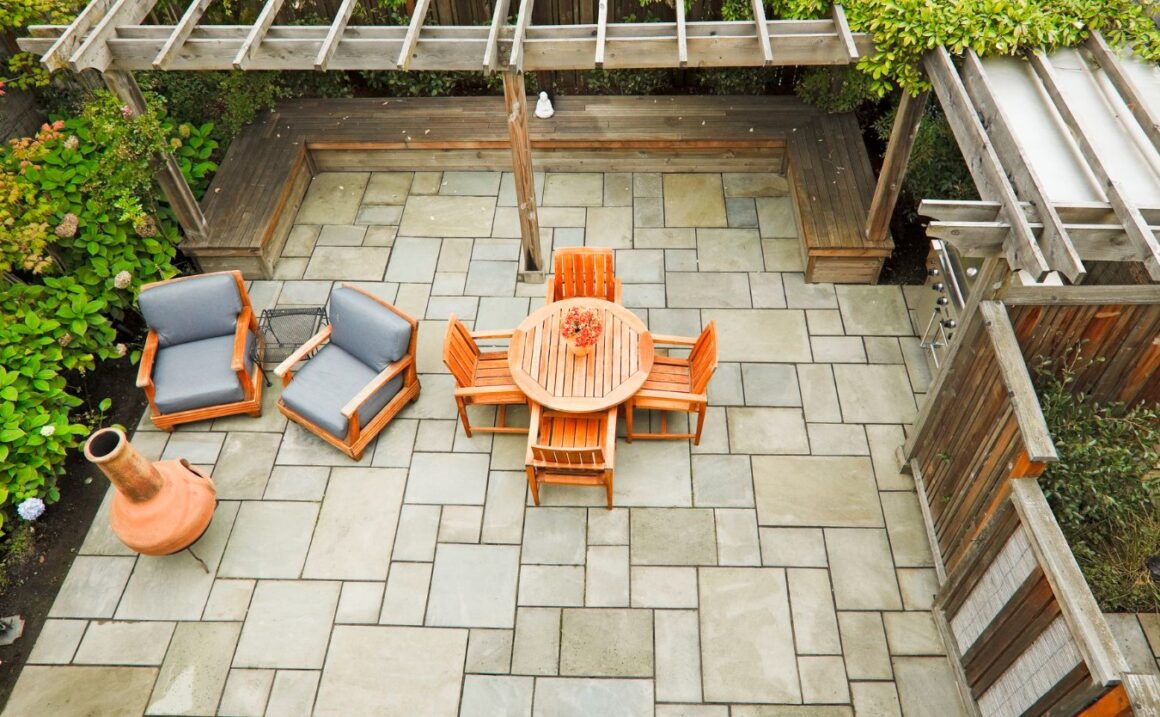
Remove Sod from Your DIY Patio:
To define the shape of your patio, lay a garden hose on the ground or use stakes and mason lines. If you’re unsure what size is best for your new space, build a slightly larger area than you planned.
You should take some extra inches to ensure that you have taken the right area to cover up. Making an existing stone patio larger later on is frequently more difficult than simply building a large patio from the start. When you are just managing the old one, you need jog to have an idea of taking up a particular space and then transforming it according to you,
Remove the sod and soil from the patio area with a sharp garden spade shovel. You should scratch out the surface which you want to use. Excavate a base 8 inches deep plus the flagstone, brick, or paver thickness. You should know how much space you will be requiring. Slope the site away from your home’s exterior if you’re building a patio near it. Not too far, have a rough idea and care about the blueprint.
Add Fabric To The Base:
Line the excavated area with landscape fabric, cutting the fabric to fit. Although this is not an essential step in the process, it helps prevent weeds from sprouting between the patio stones. It is not something that is necessary to be taken but if you want to give a good look to your veranda, do nothing if you want to use up the place, then decide something about the space to be used in the best ways possible that is highly efficient.
Landscape fabric is fairly inexpensive and easy to install, so this weed control method is well worth it. It is considered one of the good ways to control weed growth, and you can have a well-grown veranda that is away from any weed and unwanted growth.
Tables Made From Tree Stump:
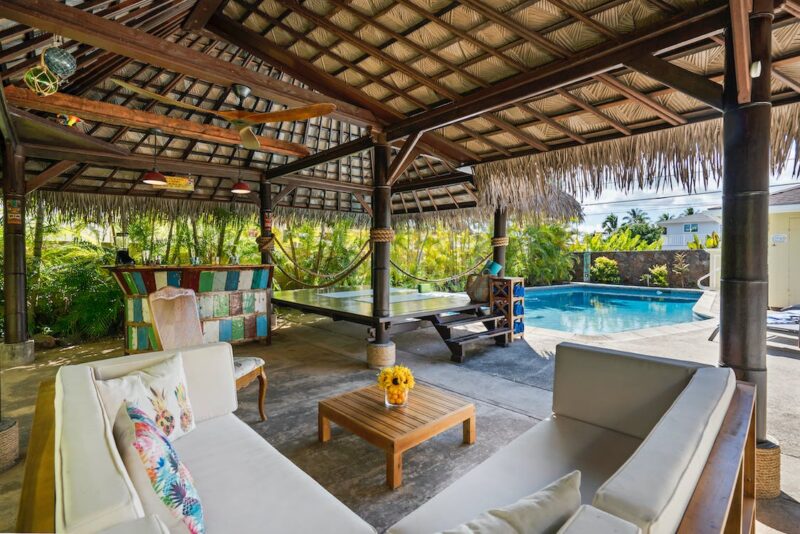
This is one of the additional ways through which you can add on to upgrade your backyard. When you have established a firm flooring for your veranda the next thing that you can do is to add the tree stumps as your sitting area. If your small outdoor space is missing a few tables, look to nature for extra surface space. Within your area you can utilize the material and form the seats.
This is considered something that is aestehtica;ly appealing and gives your veranda a nice touch of comfort and ease. Side tables can be made from tree stumps and upturned wicker baskets. They evoke a truly rustic retreat when adorned with home-grown planters.
Create a Gravel and Sand Patio Base:
When you excavate the land, this is the next step you must take. After excavating it, spread almost a 6-inch-deep layer of gravel or limestone paver base over the entire patio space. If you’re using a limestone paver base, lightly wet it with a garden hose. If you are facing trouble on your own, it is highly recommended to rely on an expert who knows how to work on a specific area of land. If you are searching for a professional or veranda specialist, you can visit this website and upgrade your backyard in the best way possible.
If you are thinking of making a firm base, use a tamper or a rented plate compactor. To create a smooth surface, use a tamper or plate compactor. If you use a limestone paver base, you must finish it with leveling sand. Begin by running two 1-inch PVC pipes the length of the area. These should be cut to fit within the patio’s base. One inch of leveling sand should be spread on top.
Add Sand To Your Patio:
When you are done with everything from excavation to leveling up, the last thing is to spread polymeric jointing sand over the patio once all the bricks, pavers, or flagstones are in place. Sweep the sand over the pavers with a stiff broom until the cracks are filled.
Clean it first to remove excess sand with a low-speed leaf blower. To encourage the sand to sink into the spaces between the stones, mist the surface with a fine mist from a garden hose. This is probably the last step that you have to keep in mind and use practically if you are doing it all by yourself.
Takeaway
If you are thinking of organizing your backyard or trying to upgrade it, then it is essential for you to have pretty good knowledge about everything relating to the establishment of the veranda. This article will work for you as a guide and help you to form a beautiful veranda.