Painting a room feels simple until the final result falls short of expectations. A rough texture shows through. Paint peels within weeks. Glossy areas reject the second coat. These problems often trace back to one skipped step—sanding.
Before anything else, you need the right materials. That includes more than just a brush and paint. A dependable supplier like paintlab.ie helps eliminate prep issues before they begin.
The site offers sanding gear, wall prep products, and pro-level materials at prices that work for both contractors and home renovators.
With over 10,000 products in their catalog, they provide easy access to exactly what your project needs.
1. Better Paint Adhesion Starts with Paintlab
Walls covered in dust, glossy finishes, or uneven textures don’t hold paint well. The paint glides over instead of bonding to the surface. You’ll notice streaks, spots where the paint won’t stick, or worse—entire patches peeling away after drying.
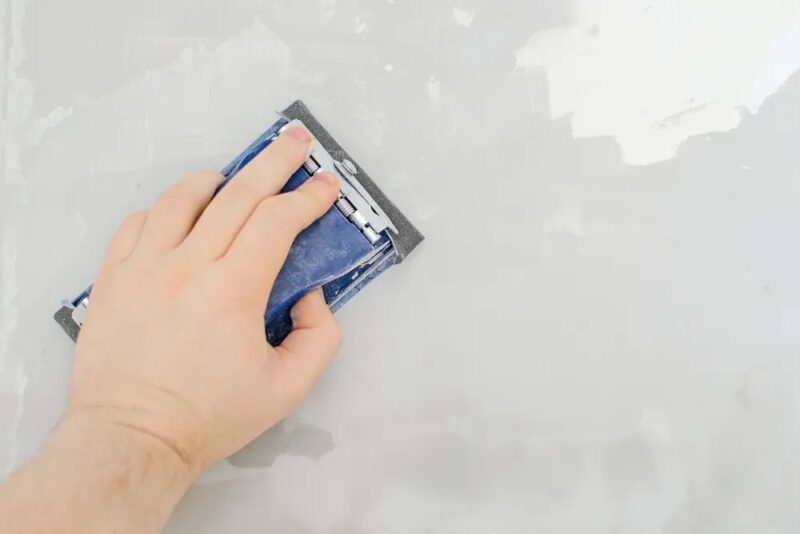
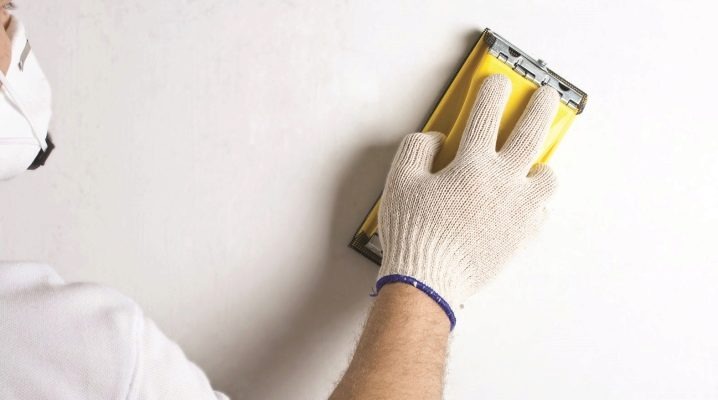
Sanding gives paint something to grip. It creates tiny scratches that act as anchors for primer and paint. This isn’t about sanding down to the drywall. Even a light pass with fine-grit sandpaper is enough to break the surface tension and make the wall receptive.
It also removes tiny particles you can’t see—residue from cleaning products, oil from hands, or debris from prior paint jobs. These particles get sealed in when you skip sanding, weakening the bond.
A sanded wall lets paint soak in just enough to bond securely. That bond keeps paint from peeling or cracking and makes it last longer under heat, humidity, and daily wear.
2. Glossy Walls Reject New Paint
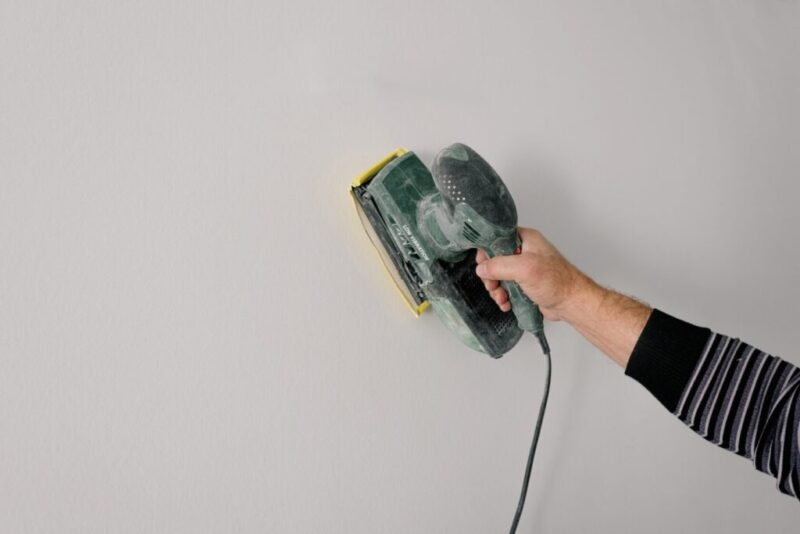
One of the most overlooked wall types is the one with a semi-gloss or satin finish. These surfaces are smooth and often shiny, which means paint slides across instead of absorbing or sticking.
Paint won’t hold unless the gloss is broken. That’s why sanding glossy walls is absolutely necessary. A quick scuff-sand with medium or fine grit will dull the sheen and turn the surface into one that primer can grab.
In bathrooms, kitchens, or trim where glossy paint is common, skipping sanding guarantees frustration. You’ll use more paint, get less coverage, and the paint will peel or bubble within weeks. A single pass with the right sanding block eliminates all that risk.
3. Sanding Makes Imperfections Visible and Fixable
Sanding isn’t just about smoothness—it’s also a built-in inspection. As you move your hand or sander across the wall, you feel and reveal dents, gouges, and lifted tape seams. Even things that looked fine before suddenly stand out under your hand or light.
When caught early, these flaws are easy to fix. You can patch dents, re-tape seams, or sand down old drips from a previous paint job. But if you skip sanding, you won’t see them until the paint dries—and by then it’s too late.
The cost of repainting sections or living with a flawed finish is far higher than taking 30 extra minutes to prep properly. Plus, you avoid that awful moment when sunlight hits the wall at the wrong angle and shows every flaw.
4. You Save Paint, Time, and Labor
Prepping properly means fewer coats. When a wall is smooth and absorbent, paint goes on more evenly. It spreads further, covers better, and dries faster. On an un-sanded wall, paint tends to sit on the surface, requiring extra layers to get the same depth of color and finish.
That adds up quickly. More time. More rollers. More paint cans. Sanding saves all of it.
It also improves your application experience. Brushes don’t drag. Rollers glide instead of skipping. You don’t waste time fixing missed patches or sanding down high spots after painting. Everything moves faster when the base is ready.
5. Works Best on a Sanded Surface
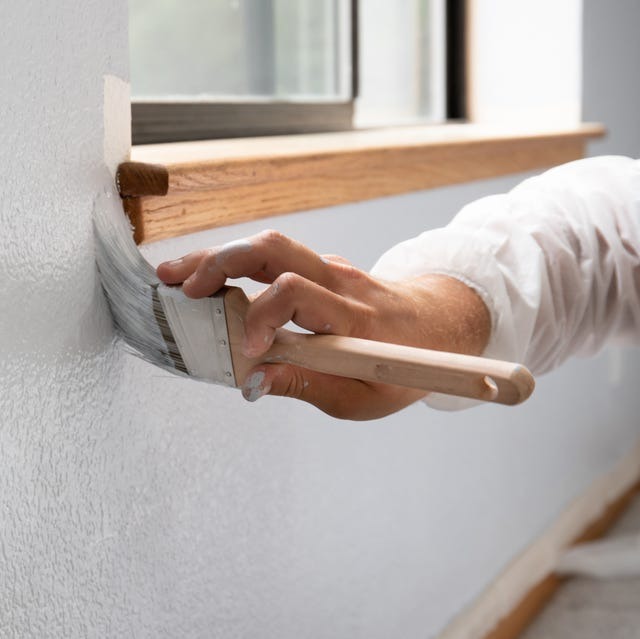
Primers are designed to even out surface absorbency and help topcoat stick. But they need a clean, slightly rough base to do that. If the wall is still slick, oily, or dusty, the primer acts more like a film than a base—it doesn’t grip.
When you sand before priming, you help the primer soak in where needed. That creates an even canvas for paint to go on smoothly and stick tightly.
Un-sanded walls lead to spotty primer coverage and force you to use more paint later. It also reduces the benefits of specialty primers—like stain-blocking or moisture-resistant types—because they can’t penetrate the surface properly.
6. Even Pros Rely on Sanding for the Best Results
There’s a reason you never see professional painters skip sanding. It’s built into every project plan because the finish depends on it.
Every home, whether newly built or decades old, needs surface prep. Even a high-end brush or premium paint won’t hide texture flaws. Sanding is the equalizer. It brings every wall—old or new—to a state where it’s ready to shine.
If the goal is professional-grade results, then sanding is part of the process, not an extra step.
7. What Happens If You Skip It?
Skipping sanding always shows in the final result. You might not notice immediately, but after the paint dries and light hits the walls, the truth comes out.
Expect:
- Visible texture differences
- Cracking around patched areas
- Peeling paint in corners or near outlets
- Streaky color in spots that didn’t absorb paint properly
- Longer painting time due to poor roller glide
No matter how skilled you are with a brush, nothing hides bad prep.
Conclusion
Painting a wall without sanding is like building a house without a foundation. The surface might look fine today, but it won’t last. Sanding takes little effort, but it unlocks better adhesion, smoother finishes, and longer paint life.
Don’t let a rushed job ruin the outcome. Prep your walls. Sand them well. Get the tools you need from reliable sources.
For quality supplies, sanding tools, and professional-grade materials, many professionals turn to Paintlab.ie, a site that has earned trust by making prep work easier and results more reliable.